
Inlay strips such as those shown here are made of natural hardwoods and artificially stained wood.
Dyed veneers are used to produce wood colors not seen in nature: i.e. blue, orange, red, yellow.
Availability of Wood Inlay Strips
Inlay strips (fillets or bandings as they are often called in the literature) are classified as simple and complex.
The standard measurement in Europe is 1 meter long and in the U.S., 1 yard.
In Europe the standard inlay strip is 0.6 mm thick, however in the U.S., cabinet makers seem to prefer the thickness of 0.8mm or 1/32 of an inch.
There are advantages to both.
Strips come in various widths.
The price is dependent on a variety of factors including: width, thickness, complexity, and type of wood used.
The process of making inlay strips is complex and time consuming as much of the work is accomplished by hand.
Final cutting, done by either the guillotine process or by resawing is done by machine to ensure uniform size.
When working with or handling inlay strips, one must always bear in mind that the strips are end-sawn and therefore are fragile.
Tools Required
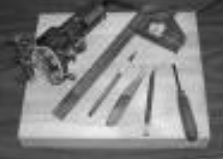
To begin, you should assemble the following tools which you will need at various stages of implementation:
- Razor Knife
- Small router such as a Dremel
- Larger Router
- Yellow wood or Veneer glue
Step 1: Draw Your Guidelines
On the flat surface to which the inlay is to be applied, carefully draw the borders using a sharp pencil.
Do not apply heavy pressure. You also might use the inlay strip as a guide.
Step 2: Cut Your Edges
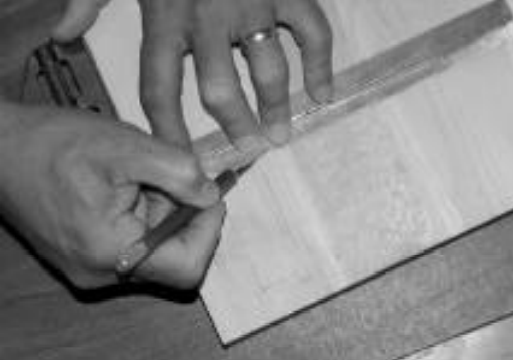
With a straight edge as a guide, cut along both sides of the borders using a razor knife.
This will provide a clean edge for the inlay groove.
Go slowly and carefully.
Make sure that the guide is fastened securely and does not move while the cutting is taking place.
Cut approximately 1/32″ deep.
Step 3: Route Your Groove
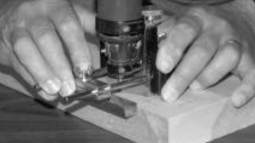
Using a small router or Dremel tool with a small, well-sharpened router cutter, cut a groove the size of the strip to be inlayed.
This may require more than one pass and should be carefully done.
The razor cut edges should assist in providing a clean edge, particularly on cross grain cuts.
For frames, it is also possible to use a shaper or router table as well. Some craftsmen also use a saw kerf.
The corners should be cut with a chisel to 45 deg.
Step 4: Prepare Your Inlay Strips
Once the slot is cut, assemble the strips and cut them to length with the razor knife or chisel.
The corners are cut at a 45 degree angle.
Consider making a jig as seen below for this as you will be making many cuts of this type.
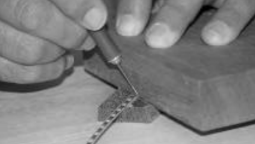
Depending on the length of the borders used, and the complexity of the pattern, it may not be possible match the last joint.
However it will be possible to match most corners.
Corner square or rhomboid inlays can also be purchased and used to great effect.
It is possible to inlay simple strips into short radius curves by first soaking them in water and bending them over a hot form (approximately 200 degrees).
For slots over 1/32″ wide, several strips should be used. Curved inlays are also available.
Step 5: Glue Your Inlay
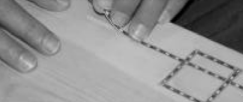
Apply a thin layer of glue to the inlay strip and press into the slot.
Before the glue dries (when it is in its gummy state) carefully remove any excess, since finish will not adhere properly to glue.
If the border is higher than the surrounding area, it can be reduced in height by using a metal scraper or by sanding
Step 6: Finishing Touches
It is recommended that staining of the surrounding piece if desired, be accomplished prior to the installation of the inlay strip to avoid contamination.
If necessary coat the inlays with a clear finish before inserting if you need to stain after the inlays are in place.
Final protection (clear coat) can be applied as usual with whatever the craftsman desires, i.e. lacquer, or any of the polyurethane finishes.
EXPERIMENT FIRST with scrap lumber.
Although the process is not very complex, it is exacting to get a clear and sharp inlay presentation.
Be particularly careful when routing the grooves, as you want them to be a good fit for the inlay strips.
