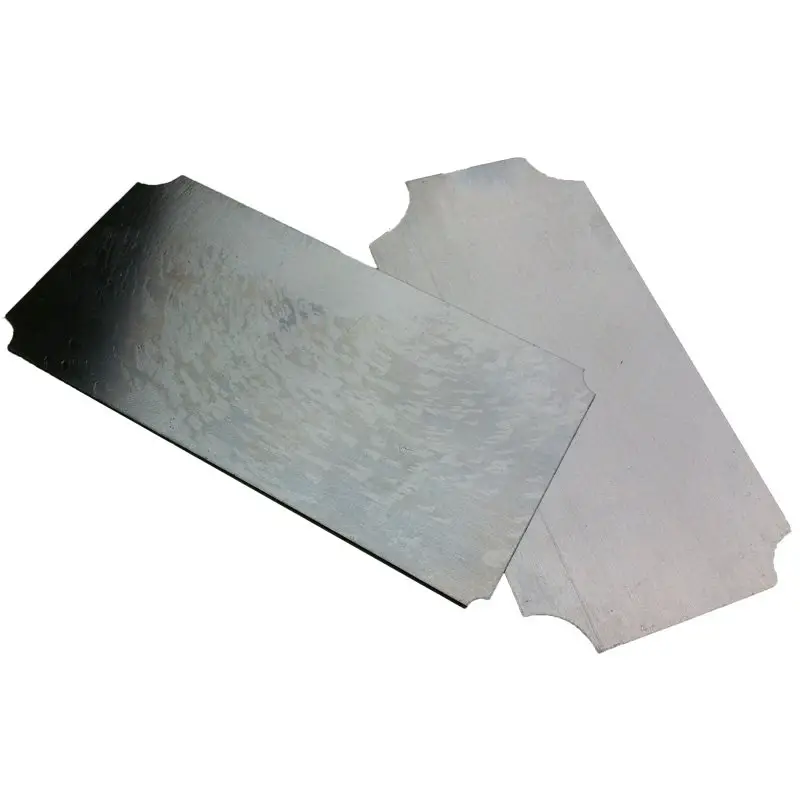
The flat, steel “cabinet scraper” is one of the simplest but often most misunderstood tools in the woodworker’s repertoire.
Pick it up and it looks like nothing more than a 2 x 4-inch strip of thin steel to be used to scrape up the goo which paint remover leaves, but it is a precision tool that comes in many forms and does work which no other tool will do.
The Cabinet Scraper as Finishing Tool
We often think of sandpaper in its myriad grits as the ultimate finishing material, we start with an aggressive 80 grit and work up to 180 grit, often pushing on in successive steps until we find 400 grit is really too fine for wood fiber although great for finishes.
But just as many an old-timer knows that the best surface for gluing is freshly planed wood sliced off with a sharp blade, so in times past it was known that wood scraped with a broken edge of glass or the finely curled edge of a steel blade will leave a perfect surface ready for finish — and this done in a few deft strokes.
It is true, getting an even surface overall with scraping takes some practice, and not all wood responds equally well to the scraper blade.
But scraping produces a fine and smooth surface like no other, since there are none of the sharp, projecting abrasive points which are what makes sandpaper work.
A sandpapered surface seen with a microscope looks like a saw blade, the finer the paper the finer the saw appearance, but the scraper leaves a surface as smooth as the scraper edge, that is all there is to it.
Making Your Own Cabinet Scraper
You can buy from a tool house for a few bucks a scraper blade, but that is insufficient because scrapers like people come in all sizes and shapes.
You need a dozen scrapers in widths from an eighth-inch to an inch and a half, some dead flat, most with a lilt at the edges to avoid digging in, many with a very slight convex bow to feather out a one-inch wide strip which you will use for flat work.
So how do you get all these sizes and shapes? Of course, you make them up!
Making the Blanks
Get an old rusty saw which has good steel, if it is thinner at the tip and back than at the teeth it is probably excellent old steel, but you can use anything you have at hand for a start.
If you don’t have a shear, get someone to shear up a handful of strips perpendicular to the blade for you.
Don’t try to hand-shear because the material is too hard, or cut with an abrasive wheel which will ruin the temper.
Shear off the first half-inch at the teeth, old saws often have some hardening at the tooth and this is too hard for the next process.
At this point you have a dozen or more blanks, first thing is to touch the sheared edges to a belt sander to remove the burr which can cut your fingers, and round slightly the back corners.
Creating the Cutting Edge
Now you are ready for the preparation of the cutting edge.
The traditional way is to hold the piece in a vise with half an inch sticking up, take a single cut file (with just slanting teeth on it) and draw file the edge, which means slice the file across the work sideways, so the teeth have a smooth shearing action.
This produces a dead smooth edge which is what you want, but in this case, proceed with successive slices until you have something like a 15-degree angle.
Now you will need a piece of half-inch round steel which is very hard, to roll a curled edge off the top of the blade, it is this curled edge that does the scraping.
Actually it is not scraping at all, it is shaving or even planing off a minute curl of wood from your surface, often less than half a thousandth of an inch.
Scraping is perhaps the wrong word because it connotes a rough, tearing action.
The Scraper is, in fact, a micro-planing machine.
I mentioned the hard roller for the edge, which is something you may not have at hand.
I have taken one of the old steel knife-sharpening irons which came with carving sets, removed the deer horn handle, put the steel in an electric drill, and let it rotate again the worn belt of my (running) belt sander until it is smooth and polished all over.
Since you want only half that length, you can make a deep groove around the middle with the corner of your grinder wheel, and then snap it in two in the vise with a pipe, but wear glasses and use care.
Then you can put the original end back in the horn handle and give the other piece to a friend.
Another simpler way is to go to a machine tool house and buy a 6-inch length of 3/8 diameter “drill blank” which will be very hard, precise to .0001″ and hence fairly expensive.
With this hard roller you will start rolling at 15 degrees and with each pass across the prepared edge go a degree or two towards the horizontal (perpendicular to the scraper).
You will see a small curl forming, this is what you are looking for.
If it curls very easily you have soft material which will cut fine but not last.
However, you can re-roll several times before draw-filing again.
Dealing with Hard Saw Steel
On the other hand, sometimes you find the saw steel is so hard that you can’t get a good curl.
In such a case use the procedure which I describe next:
Draw-filing works, but I find it much better to use the dullest, most used belt I have on hand on my belt sander to shape the edge to the required 15-degree angle.
While at it I can do two other things:
First I can delicately relieve the corners so as to avoid digging in.
Second I can make a slightly convex contour, so the actual cut is at the center third of my scraper width.
This avoids digging and also gives a narrower cut, which provides more cutting pressure while giving me a decent-sized scraper to hold with both hands firmly.
And I can also use the belt sander to remedy the matter of an overly hard material (as noted above).
I hold the scraper firmly against the belt at 15 degrees, but continue pressing it until a faint blue color appears at the very edge, then stop immediately.
This will soften or temper the hard saw material sufficiently for a good curl.
Now you can consider the matter of what shapes you will want for your set of scrapers.
I have made up straights and curves for all sizes from 1/8″ for delicate contours, to a full two inches for large surfaces.
Micro-Planing with a Cabinet Scraper
In some case I have planed a large mahogany board which I didn’t want to entrust to a planing machine, in this sequence:
First plane with a scrub plane on the high areas, checking with a straight edge.
Second go over it all over with a 30-inch long wood-bodied plane with blade set to a slight cant, proceeding across the board at 45 degrees to the grain in the direction of the cant.
Then I used a Stanley Bailey #5 to smooth things out, going parallel to the grain.
Then the portable belt sander can be used to see if any ridges were left, then the random-orbit sander with 100 grit all over to get things down to near the finished planarity.
And THEN I started scraping with a broad scraper, curling off paper-thin shavings of wood until I have produced a clean, clear surface.
There may be a touch of sandpaper here and there, but always the newly sharpened scraper again for the last touch, and I am ready for the finish.
Benefits of Scraping vs. Abrasives
Why do I find this so attractive?
Because the grain is left clean of sanding dust, there is no powder of wood and worn abrasive particle stuffed into the natural grain of the wood.
So when the finish is finally applied, the wood shows its micro-fiber structure through the finish in a sparkling display.
If you’ve ever wondered why fine old violins always have such a beautiful, bright finish on the maple back?
It is because the old instruments makers used scrapers for the final finish, and over that, they used clear varnish which could let daylight into the pores of the wood — and out again.
Adding a Handle
One final thought: Holding the scraper with your two hands takes effort, and you get something like “writer’s cramp” after a while.
I found a useful way around this.
Drill two holes in a scraper about an inch and a half apart, I suggest 3/16 holes with a really hard, perhaps titanium coated (gold colored) drill.
Drill slowly but firmly with a drill press or the heat will harden the steel and then you will never go through. (I have a lever punch and used that.)
Then take a hammer handle, cut it to about 30 degrees on the table saw, and drill small holes for wood screws to match the scraper holes.
Thus you have a two-handed handled scraper which you can wield with much more even pressure, and very little fatigue.
If you drill your other scrapers to the same pattern you have the best of both worlds, a precision scraper and a tool you can use hard for hours.
For scraping off hard varnish this is really a necessity, and scrapers are good for this too.
But the real use for the Cabinet Scraper is not in the refinishing shop, it is a basic tool for the ultimate finish on a finely crafted wood surface.
Brilliant account of scrapers, including a nice method for forming the edge and curling it when using harder steel. Thank you very much for sharing this.