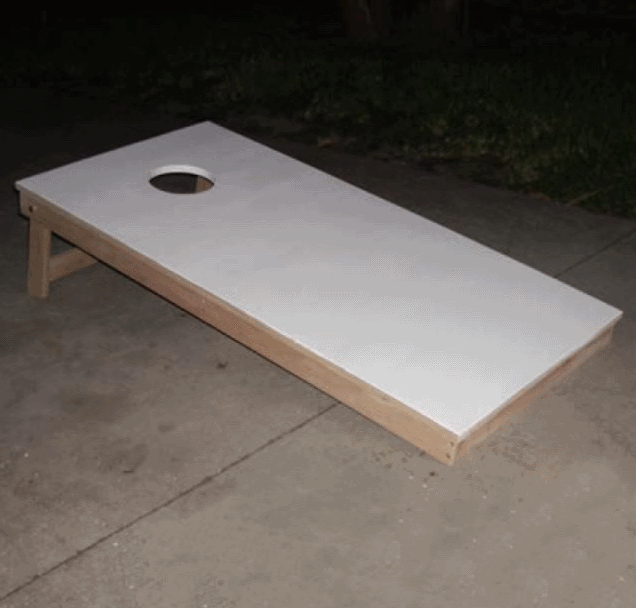
Cornhole (aka the beanbag toss game) is a game that has had a long-lasting run of popularity in the Midwestern US, particularly in Indiana and Ohio.
However, it is increasingly becoming popular for backyard barbecues and tailgaters before football games throughout the US.
Contents
- About the Game of Cornhole
- Project Specifications
- The Plans/Pattern
- Step 1: Build the Frame
- Step 2: Attach the Cross-Brace
- Step 3: Attach the Playing Surface
- Step 4: Fill the Screw Holes
- Step 5: Cut the Cornhole
- Step 6: Cut the Leg Pieces
- Step 7: Drill Holes for the Leg Bolts
- Step 8: Build the Leg Assembly
- Step 9: Attach the Leg Assembly
About the Game of Cornhole
The game is simple. Players toss colored bean bags toward a tilted board with a 6″ diameter hole in the surface.
A bag in the hole scores! There are many variations on the basic game, but the equipment is the same.
This is a fun project to build, one that you’ll be proud to show off in your back yard or when tailgating before that next game.
Project Specifications
Difficulty Level: Easy.
Time to Complete: 3-4 hours.
Recommended Tools and Supplies
- Miter Saw or Circular Saw
- Jig Saw or Band Saw
- Power Drill
- Tape Measure
- Pencil
- Compass
- Sandpaper
- Wood Filler
- Paint or Stain (and Polyurethane)
Parts and Materials
- 3 – 1″ x 3″ x 8′ SPF Lumber
- 1 – 2′ x 4′ piece of 3/4″ sanded (AC) plywood
- 2 – 1/2″ tall x 3/4″ diameter round rubber bumpers
- 2 – 5/16″ bolts with washers and nuts
- 1-5/8″ Wood Screws
The Plans/Pattern
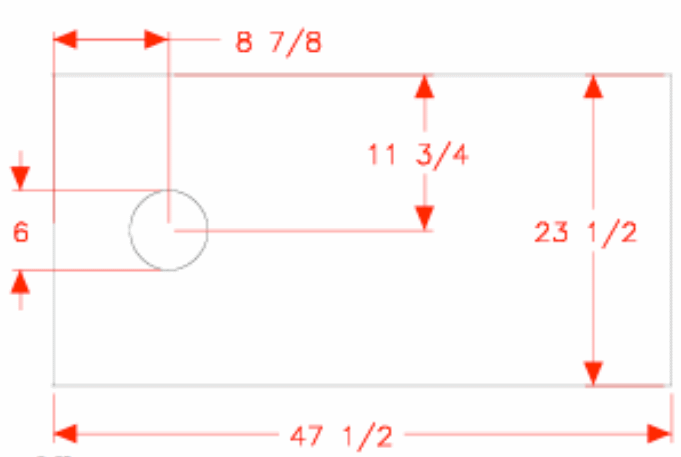
Top View
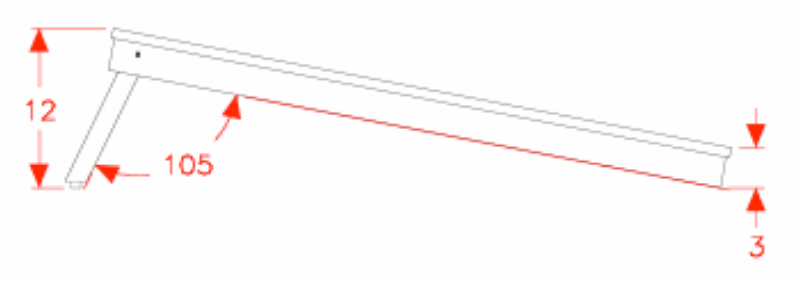
Side View
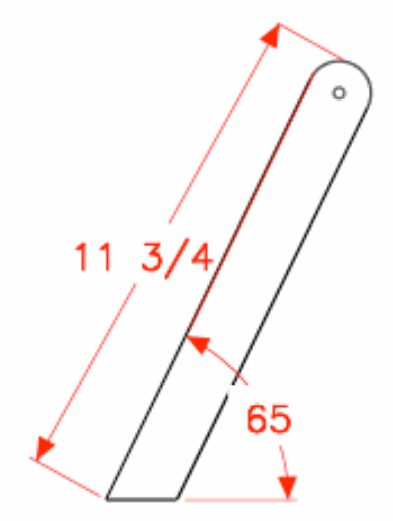
Support Legs (Side View)
Play Surface (Side View)

Step 1: Build the Frame
The first step to building your own cornhole game board is to cut the pieces for the frame.
You’ll need two pieces of 1″ x 3″ cut to 47 inches and another two cut to 21-1/2 inches in length.
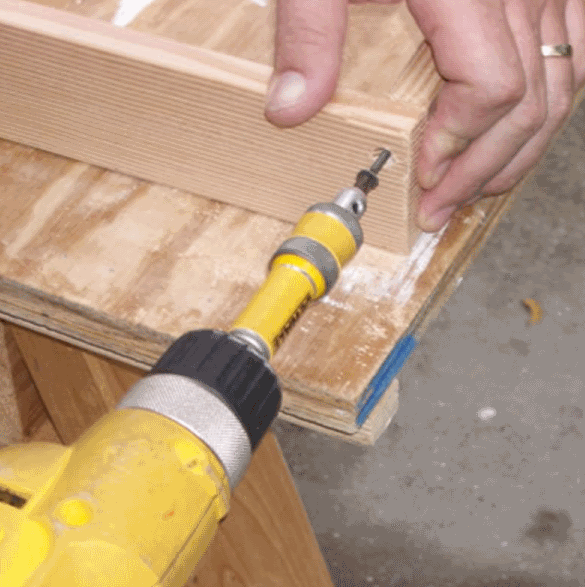
Butt the two 21-1/2″ pieces into the sides (one at each end) of one of the 47-inch pieces, and attach each with two 1-5/8″ wood screws.
Follow suit with the other 47-inch piece, attaching it to the opposite end of
the 21-1/2″ pieces to form a rectangular box.
This is the basic frame to support the board.
TIP: To avoid splitting the pieces, be sure to pre-drill the holes along with a countersink to accommodate the head of the screw.
Step 2: Attach the Cross-Brace
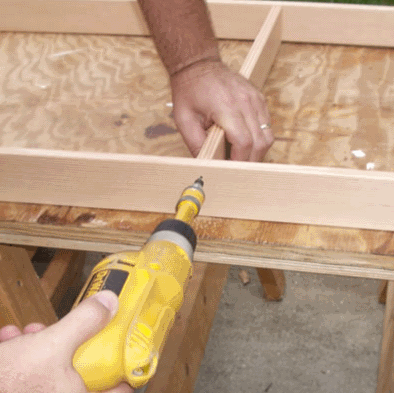
Cut another 21-1/2 piece of 1″ x 3″ and attach it to the box frame.
Each end of this brace should be centered on the 47-inch sides and attached with wood screws.
Step 3: Attach the Playing Surface
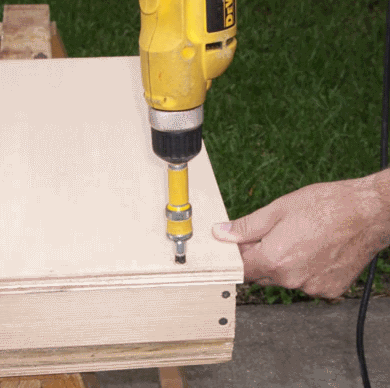
With the frame now complete, we’ll turn our attention to the playing surface.
You’ll need a piece of 3/4″ sanded (AC) plywood cut to the dimensions of 47-1/2″ in length x 23-1/2″ in width.
Center this piece over the frame and attach with wood screws.
As with the frame in the previous steps, be sure to pre-drill a pilot hole and countersink for the head.
We’ll fill the holes after the screws are inserted in the next step.
Step 4: Fill the Screw Holes
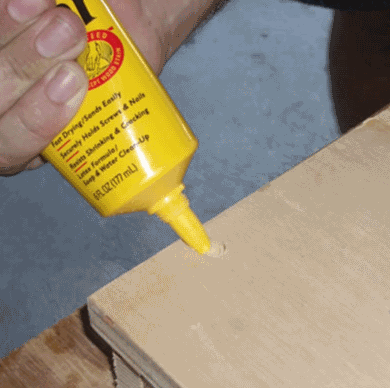
With the playing surface properly centered and attached to the frame with countersunk wood screws, the next step is to fill these holes with wood filler or putty.
Place enough filler into the holes to fill any voids, but don’t overfill, as that will just mean more sanding work later on.
Step 5: Cut the Cornhole
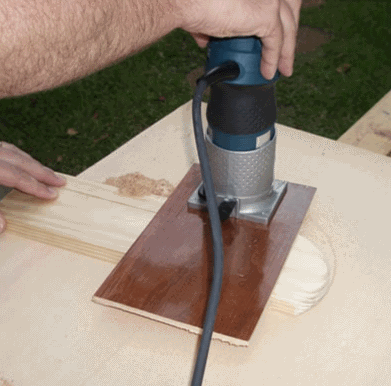
Next, we’ll turn our attention to cutting the cornhole in the game board.
We’ll need a true, six-inch diameter circle cut precisely 8-7/8″ down from the top of the playing surface, centered horizontally (at 11-3/4″ across the board).
See the top view of the plans above.
There are a number of possible choices for cutting this circle.
One could simply draw
the arc using a compass and cut it out by hand with a jigsaw, but I felt this choice was a little too imprecise.
You could also choose to drill it out with a drill press and an adjustable, wide-cutting bit.
However, my choice was to use a small router equipped with a straight bit and a circle-cutting jig.
This method allowed me to cut the hole precisely where I wanted, and left a perfect circle behind.
If you choose to employ this method, don’t try to make the entire cut in one pass.
Instead, make the cut in four or five passes so as to not overwork the router or cause the bit to burn.
Step 6: Cut the Leg Pieces
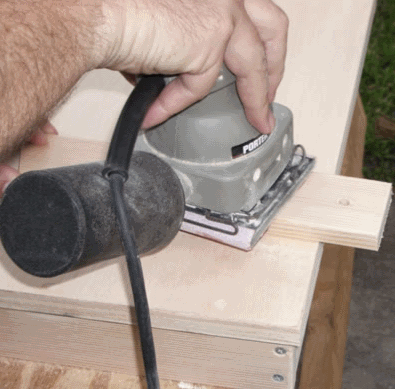
With the playing surface nearly complete, we’ll turn our attention to the leg assemblies.
Notice in the plans that you’ll need two pieces of 1×3 at least 12-inches in length.
You’ll also need a 1×3 cross-brace cut to 20-inches in length.
Using your compass, lay out a half-circle on one end of each leg (as shown in the plans) and cut the curves using your Jigsaw or Band Saw.
Next, drill a pilot hole for the bolt (to attach the leg assembly to the frame) at the center-point where you positioned your compass, again, as shown in the measured drawing.
The holes should be just slightly larger than the diameter of the bolts you purchased for this purpose.
Finally, measure down each leg 11-3/4″ and make a 25-degree mitered cut as shown on the plans.
(This angle will be 65-degrees from the side of the leg, as shown in the diagram.)
This mitered edge will eventually be parallel to the floor when the game board is in use.
With all of the parts cut, now would be a good time to give every piece a good sanding.
Be sure to sand the playing surface and the dried wood putty so that the surface is as smooth as possible.
Step 7: Drill Holes for the Leg Bolts
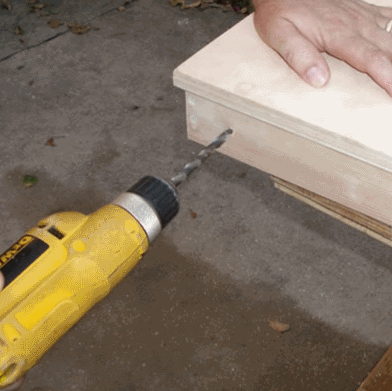
With all parts properly cut and sanded, we’re approaching the end of this project.
The next step will be to drill the holes in the frame to accommodate the leg bolts.
For the game board to sit at the proper angle and not rock when placed on a flat surface, it is imperative that these holes be drilled as precisely as possible.
As you’ll notice in the plans, a hole slightly larger than the leg bolt must be drilled 1-1/8″ down from the underside of the plywood and 2″ in from the top end of the frame.
TIP: Be sure that you drill the holes on the top half of the board where the cornhole was cut earlier, and not the bottom half of the board.
If you make this mistake, the opening for the bean bags will be at the bottom of the playing surface when playing the game instead of at the top where it belongs.
Step 8: Build the Leg Assembly
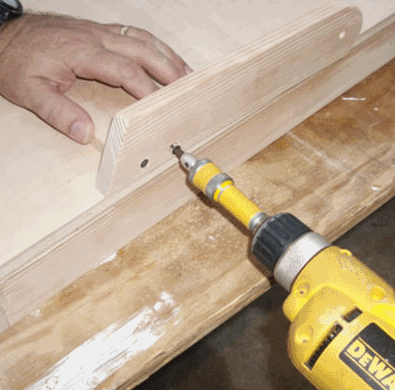
It’s now time to complete the leg assembly.
Place the two legs on a flat work surface and position the 20-inch cross brace between the legs.
The exact position of the cross brace is not critical, but I found it works best to attach it about two inches up from the long point of the leg.
Attach it at the same point on each leg with a couple of counter-sunk wood screws.
You may, at this point, wish to fill the screw holes in the leg assembly, and on the frame for that matter, with wood filler
But that is a matter of personal preference depending on how you intend to finish the non-playing surface portions of the game board.
Step 9: Attach the Leg Assembly
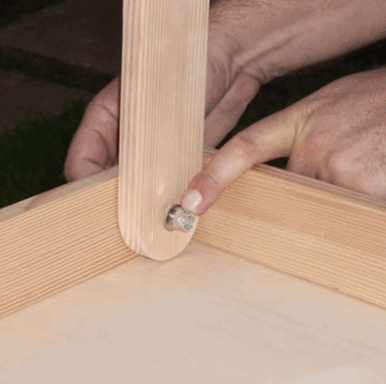
To complete your game board, you’ll need to attach the leg assembly to the frame.
Turn the assembly upside down on a clean table or flat work surface, and slide the two bolts (with a flat washer on the head) into the holes in the frame so they just barely protrude through the frame.
Slip another flat washer onto each bolt inside the frame, then move the leg assembly into position (as shown in the plans).
Slip the bolts through the holes in the legs, and then add another flat washer and a lock nut to each bolt.
Tighten the lock nut so that the leg assembly is secure, but not so tightly that the legs can’t fold under the board.
Turn the assembly over on your work surface and open the legs so that your new board appears ready for play.
(Notice that the bottom of the legs won’t quite be parallel with the ground, because you’ll still need to attach the 1/2″ deep rubber bumpers to the legs after applying the finish.)
At this point, it’s time to apply your finish of choice.
The only really important part of finishing a cornhole game board is the playing surface.
For this surface, you’ll want to use a high-gloss paint which will allow the bags to slide somewhat on the surface.
Semi-gloss or flat paint simply don’t allow the bags to glide well enough.
Apply a few coats of gloss paint to the playing surface of your board until you’re satisfied with the playing surface.
As for the finish on the rest of the assembly, that is up to you.
You may choose to finish the frame and legs with the same high-gloss paint or maybe use polyurethane for protection.
Just be sure to remove the leg assembly before finishing and then re-assemble after the finish is complete.
Add the rubber bumpers to the bottom of the legs to complete the project.

