Alright, here it goes. Good, easy & fairly quick, first time project, using ONLY hand tools.
Now, did you say previously that you were totally NEW to woodworking?
And wanted to start with hand tools??
I think that before you try to tackle that big table, try a small end table or chest, to practice some planing & joinery, and begin getting familiar with the tools.
This would make a good first project, get you a few tools, help you learn, and impress your boss.
For example, do a simple Shaker style table in standard lumber yard pine.
Lumber
Try to get some North American Eastern White pine, probably available up there in Canada.
In the states, Idaho pine is a good substitute, because of it’s easier tooling & fewer & smaller knots.
Home center Ponderosa pine from the North West has much large knots & doesn’t hand tool as well.
Because the nominal thickness is standardized, your planing will be limited to mostly jointing & smoothing.
Unless you add a drawer, (more good experience) then you’ll want to thickness the stock down.
Required Tools
Layout
A good ruler (tape measure will do) & a very important tool called a square. Get a marking gauge too.
It doesn’t have to be a mortise gauge, though you will want one of those too one day.
Sawing
Rip, Crosscut & a 10-14″ backsaw.
Planes
Eventually, you’ll need a scrub, jointer, and smooth plane too, but you can start by getting a common Stanley #5 jack plane and a fully-adjustable (mouth & blade) block like the Stanley #65.
Next add a #78 style rabbet plane.
Chisel
Get a few, possibly a set 1/4″ 1/2″ 3/4″ & 1″ yeah the Marple blue handles are OK (good value) Highland has 5-set for $30.
Eventually you’ll want some nice old ones.
Boring
Braces are common & cheap at flea markets & get augers too, new if possible, or better get an auger-file.
For the project below, get a 1/4″ bit.
Stones
I won’t start an argument over which are better, and yes you can use Silicon Carbide sandpaper to sharpen too.
But I will say that without a doubt, Sharpening is the most important skill you must learn.
Otherwise most of the above tools are useless, resulting in frustration.
Bench
Hey, perhaps this should be your 1st project. And get a good quality & large faced woodworking style vise.
Clamps
Almost forgot about those.
Step 1: The Legs
Start here, either get 2×2 stock, or joint & glue some up into 4 usable squares of the desired length.
The jack plane should be fully capable of jointing a 24″-30″ length. Glue & clamp overnight.
Then remove & smooth all 4 sides.
Now most dude’s like to add a taper to the two “inside” sides, of each leg beginning right below where the rails will join.
Mark a straight line for the taper and plane down to it.
Now put a drawknife & couple of spokeshaves on to your list.
Then cut the mortises for the rails to join into.
Lay them out on those same two “inside” sides of each leg.
Figure a 1/4″ thick by a 1/2″ less than the total width of the rails.
One day you’ll chop, but for now, grab you brace & bore, and learn to drill straight & square freehand.
Clean up what’s left with your sharp new chisels and move on.
Step 2: The Rails
Figure like 1×4 stock, cut to FULL length & layout the tenons. Score the tenon shoulders first with a knife or chisel edge.
Use you backsaw to remove the cheeks & cleanup with a chisel.
By now, you’ll be adding a shoulder plane to your list.
Glue the tenons into their appropriate mortises & clamp the entire assembly together.
Check the diagonals and ensure that the entire assembly is square and level (or even on the top).
Step 3: The Drawer
If you decide to add one, hit the books.
There are a few different ways of making them, and arrangements for operation.
Basically, for a simple drawer, use your jack (or get a scrub) to thickness the stock for the sides & back down to 1/2″ after sawing to length.
Now square the stock properly from that face, all edges, and the opposite face.
For a drawer bottom, you can learn how to make a proper raised panel, but I’ll assume that you might want to opt for some 1/4″ plywood to keep the pace going.
You’ll need something to plow a groove along the inside bottom of the front & sides for the drawer bottom to fit into.
Ideally, you’ll be thinking of a plow plane or Stanley #45, but another good choice is a match plane with a 1/4″ iron.
Now for a beginner project, it’s very easy to just put a rabbet on the drawer front for the sides to fit into.
Even without a rabbet plane, simply use a backsaw, and cleanup with a chisel.
Now assemble the drawer.
Eventually, you’ll want to learn how to layout & cut dovetails, or half-dovetails to join the sides to the front, but with patience, you’ll get there. Perhaps on your next project.
Of course, you know that you’ll need some rails for the drawer to ride, you cant install one of those center guide strips, I still like a rabbeted rail under each drawer side.
I’d bet that you see an opportunity for that screw-gun here somewhere, right?
Step 4: The Top
Normally, the top is probably already glued up & ready to be mounted at this time.
But assuming that you didn’t multi-task, lets cover making one now.
Saw the boards to length, watching for stock that might twist or cup after glue-up. Lay them out & mark the face around each joint for ensure the proper order for assembly.
Since this is a basically small project the jack can joint, but put that #7 or #8 on your list.
As a newbie, joint the edges two at a time, back to back.
This way if you can’t plane nice & square, the bevel on Each will offset the other, and you panel will be flat.
Learn during planing to press on the toe upon entry and the heel during exit.
This helps avoid rounding down the ends of the board being planed.
When your getting complete shavings for the entire length of the stroke, and the boards join together without any light appearing through anywhere, move on to do the other side of board #2 with board #3.
Glue, clamp, set overnight.
Remove, cut to size, clean up. Smooth the top with your jack plane very sharp & set very fine (and now add a #3 or #4 bench plane to your want list).
Plane the top as smooth as possible, and avoid reaching for that sandpaper, except to maybe round over or soften the edges (better add some wooden rounds to your list too).
Now attach the top.
Use a couple of cleats or corner blocks in the rails, or whatever, and position the top & drive a couple of small screws in from the bottom.
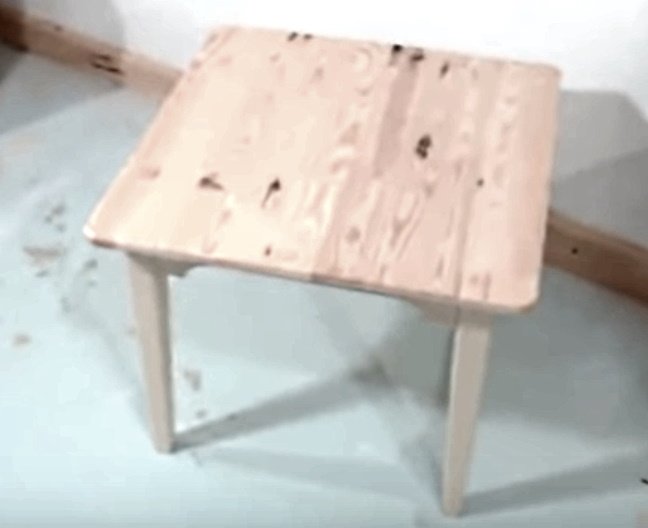
Step 5: Finishing
Sorry, you’re on your own.
I’ve written enough & I’d like to take a break.
Well that’s it.
A neat project for a newbie to hand tools, and and decent starting tool list.
I know I probably missed something, but after all that writing, I’m to lazy to go back and check.