While working on your project, it is necessary to measure and mark out your materials before processing them.
Measuring Tools
There are several types of measuring tools.
Using measuring tools seems very simple, but accuracy is impossible unless you take enough time and care to use them properly.
Rules for Measuring Short Lengths
There are several kinds of rules in common use for woodworking. The best one for measuring small pieces and marking short distances is the bench rule:
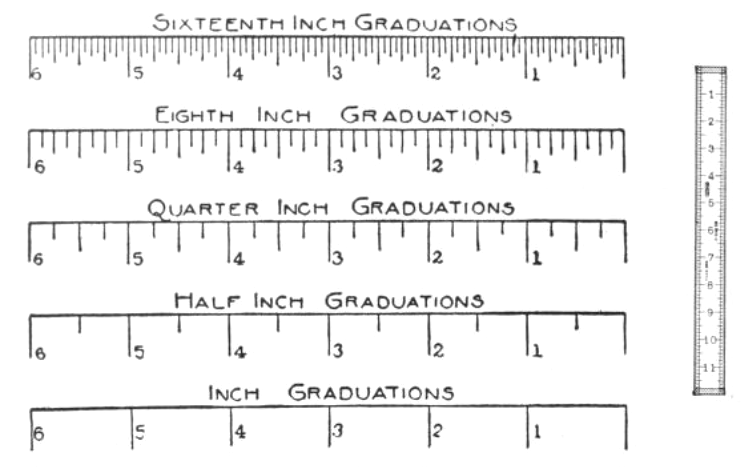
This is a wooden rule 1 or 2 feet long with a brass cap at either end to protect it.
One side of the rule is divided in halves, quarters, and eights and the other up to sixteenths of an inch.
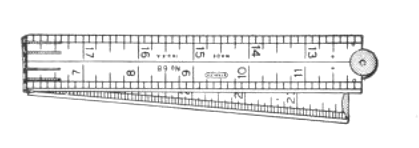
The folding rule is a 2-foot rule which can be folded to make it more compact:
Rules for Measuring Longer Pieces
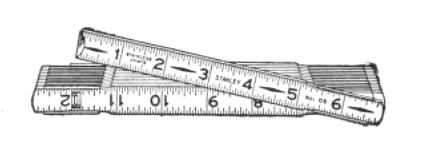
The zigzag rule for measuring long pieces of stock or for marking greater distances is about 8 inches long when folded and can be extended to its full length of 6 or 8 feet.
This rule is the standby of most carpenters:
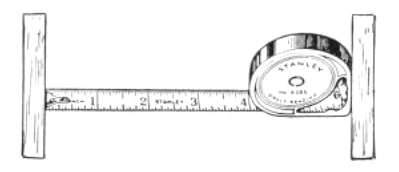
Another rule for measuring long distances is the steel tape/tape measure. this tool has a small catch at its end that slips over the side of the board, making it easier to pull out the tape:
Squares
The try square, which consists of a metal blade marked in eights of an inch along its top and a handle of either wood or metal, should be your constant aid for all woodworking:
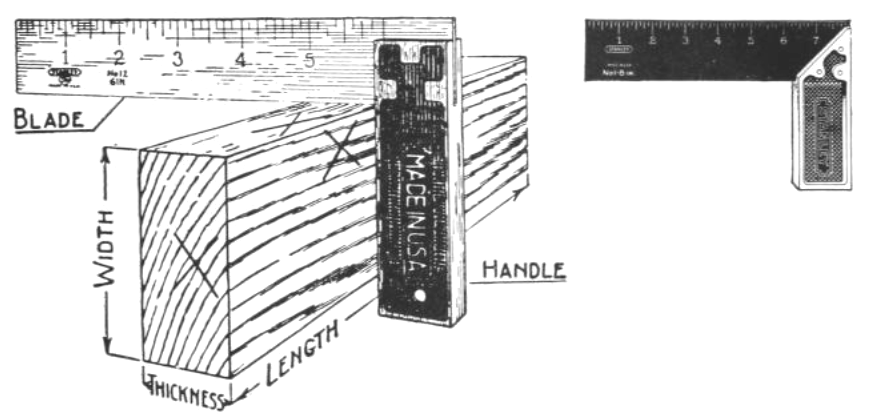
RIGHT: A try and miter square with one edge of the handle shaped at a 45 degree angle. For many layout jobs, this kind of try square is better and more convenient to use.
The try square is used for many things, the most common being to lay out a line square with an edge to check the squareness of two surfaces, and to test 90-degree angles.
Make sure that you never use this tool for hammering or pounding because it must be accurate to do its job.
The framing square is an all-metal tool with a 24-inch arm call the blade and a 16-inch arm called the tongue:
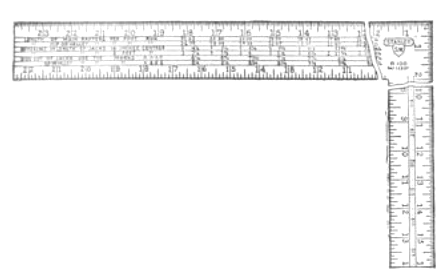
The carpenter uses it for laying out rafters, stairways, and many other similar uses:
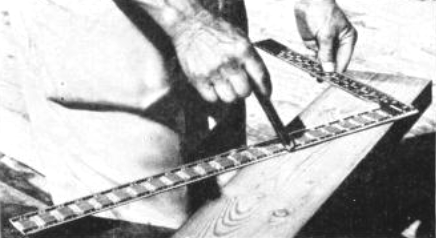
There are tables stamped on the blade for making these calculations.
A complete knowledge of the framing square would require extensive study.
It is most often used in the wood shop for laying out and squaring lines on larger surfaces, for testing larger surfaces for levelness and for testing squareness when assembling a project.
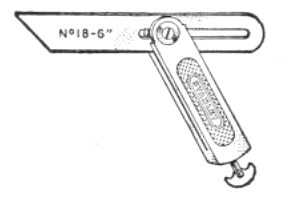
The sliding T bevel is for laying out all angles other than 90 degrees. It has an adjustable blade in a handle:
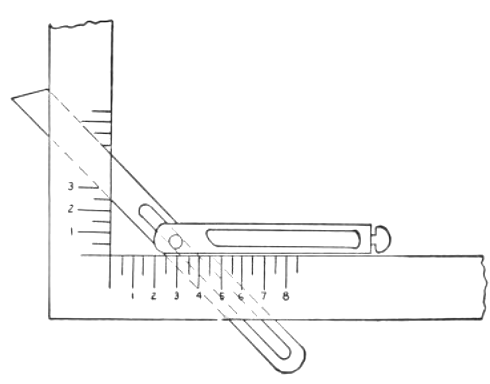
To lay out a 45 degree angle, for instance, the adjustable T bevel can be set with the framing square as shown here:
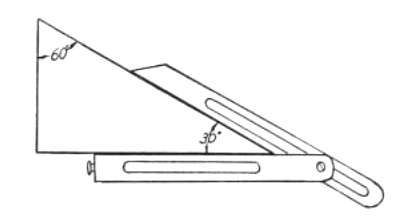
To set the tool to such angles as 30 degrees and 60 degrees, the bevel can be checked with the triangles use in drawing, or it can be set by laying out a right triangle with the hypotenuse two units long and one leg one unit long:
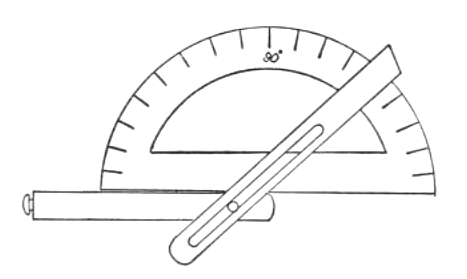
For other angles, the sliding T bevel can best be set with a protractor:
Marking Tools
An ordinary lead pencil is the most commonly used marking tool because it can easily be seen on both rough and finished lumber, it can be easily removed, and it does not scratch or mar the surface of the wood.
Use a pencil with a rather hard lead for laying out fine, accurate lines.
Keep the pencil sharpened in the shape of a chisel so the point can be held directly against the edge of the rule or square.
A knife is used for very accurate marking.
Be careful, however, not to use it except when you know that the mark will disappear as the wood is cut, formed, or shaped.
A sloyd knife is used for marking and is a very handy tool, since it can also be used for trimming a fine edge, slicing a piece of thin veneer, whittling a small peg, etc.

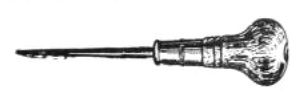
A scratch awl, which is a thin metal-pointed tool with a wooden handle, is good for marking and for punching the locations of holes that are to be drilled or bored:
